Exhaust Filter
Exhaust Filter
Couldn't load pickup availability
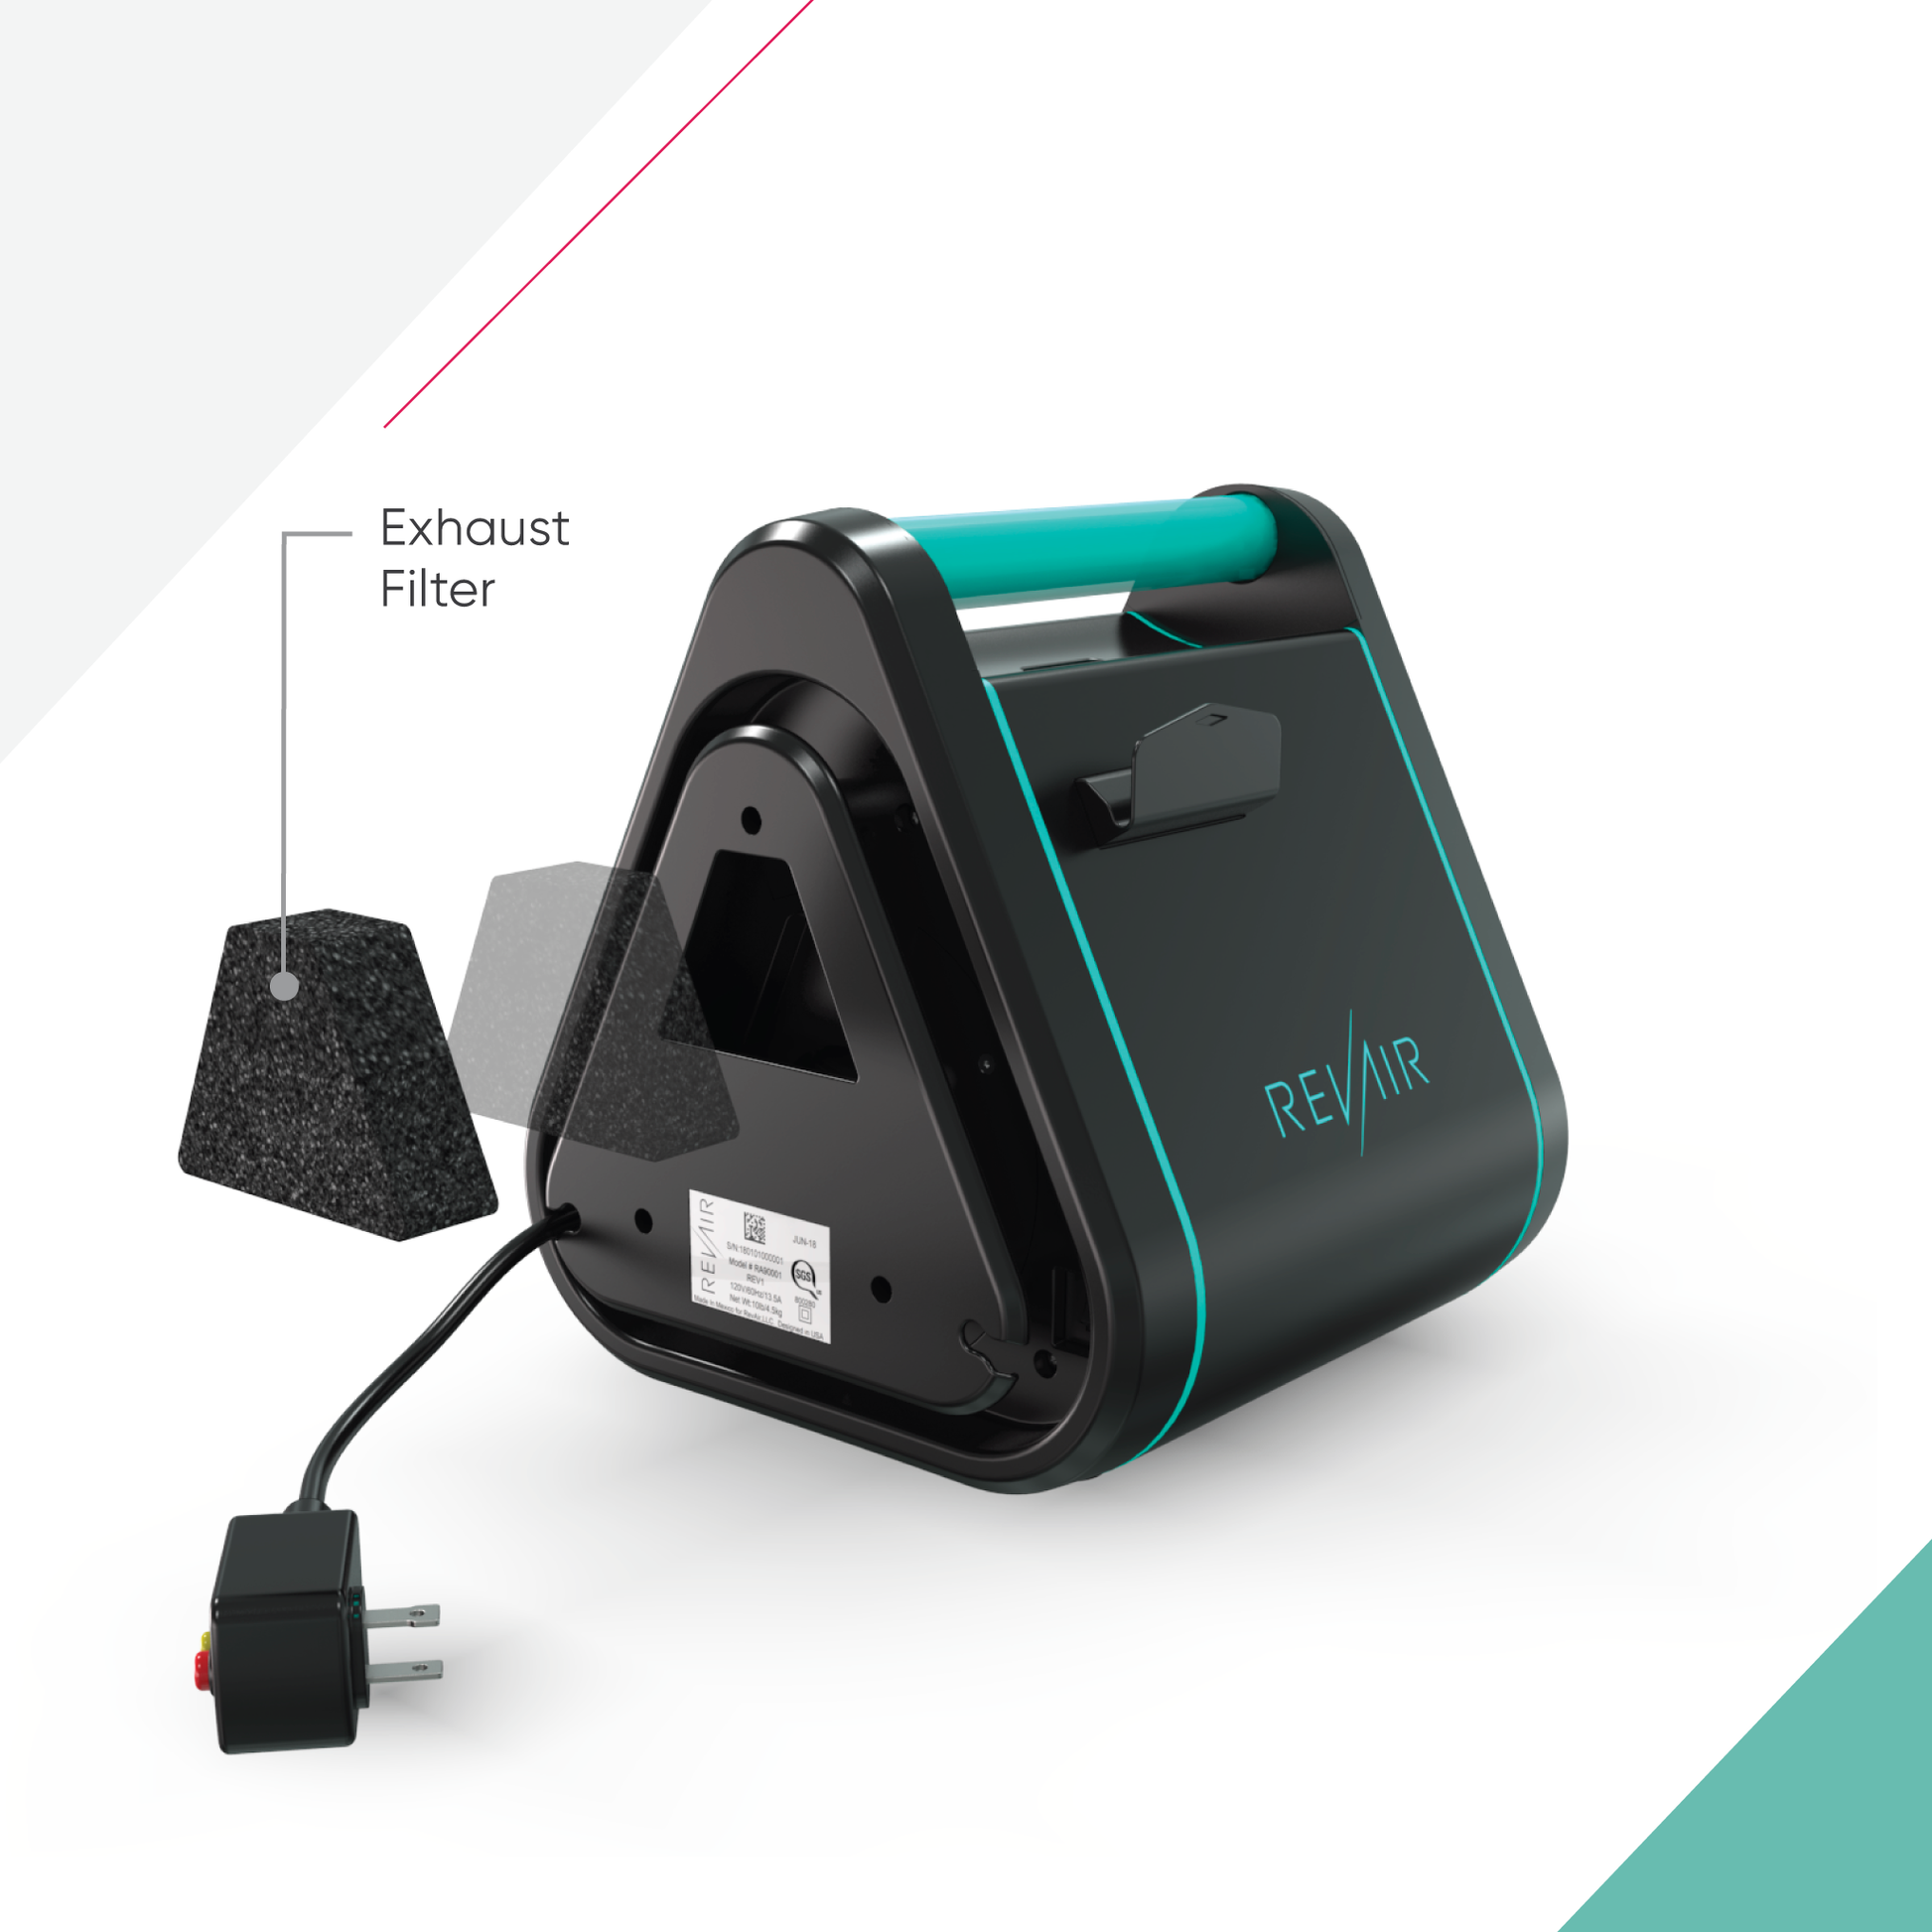
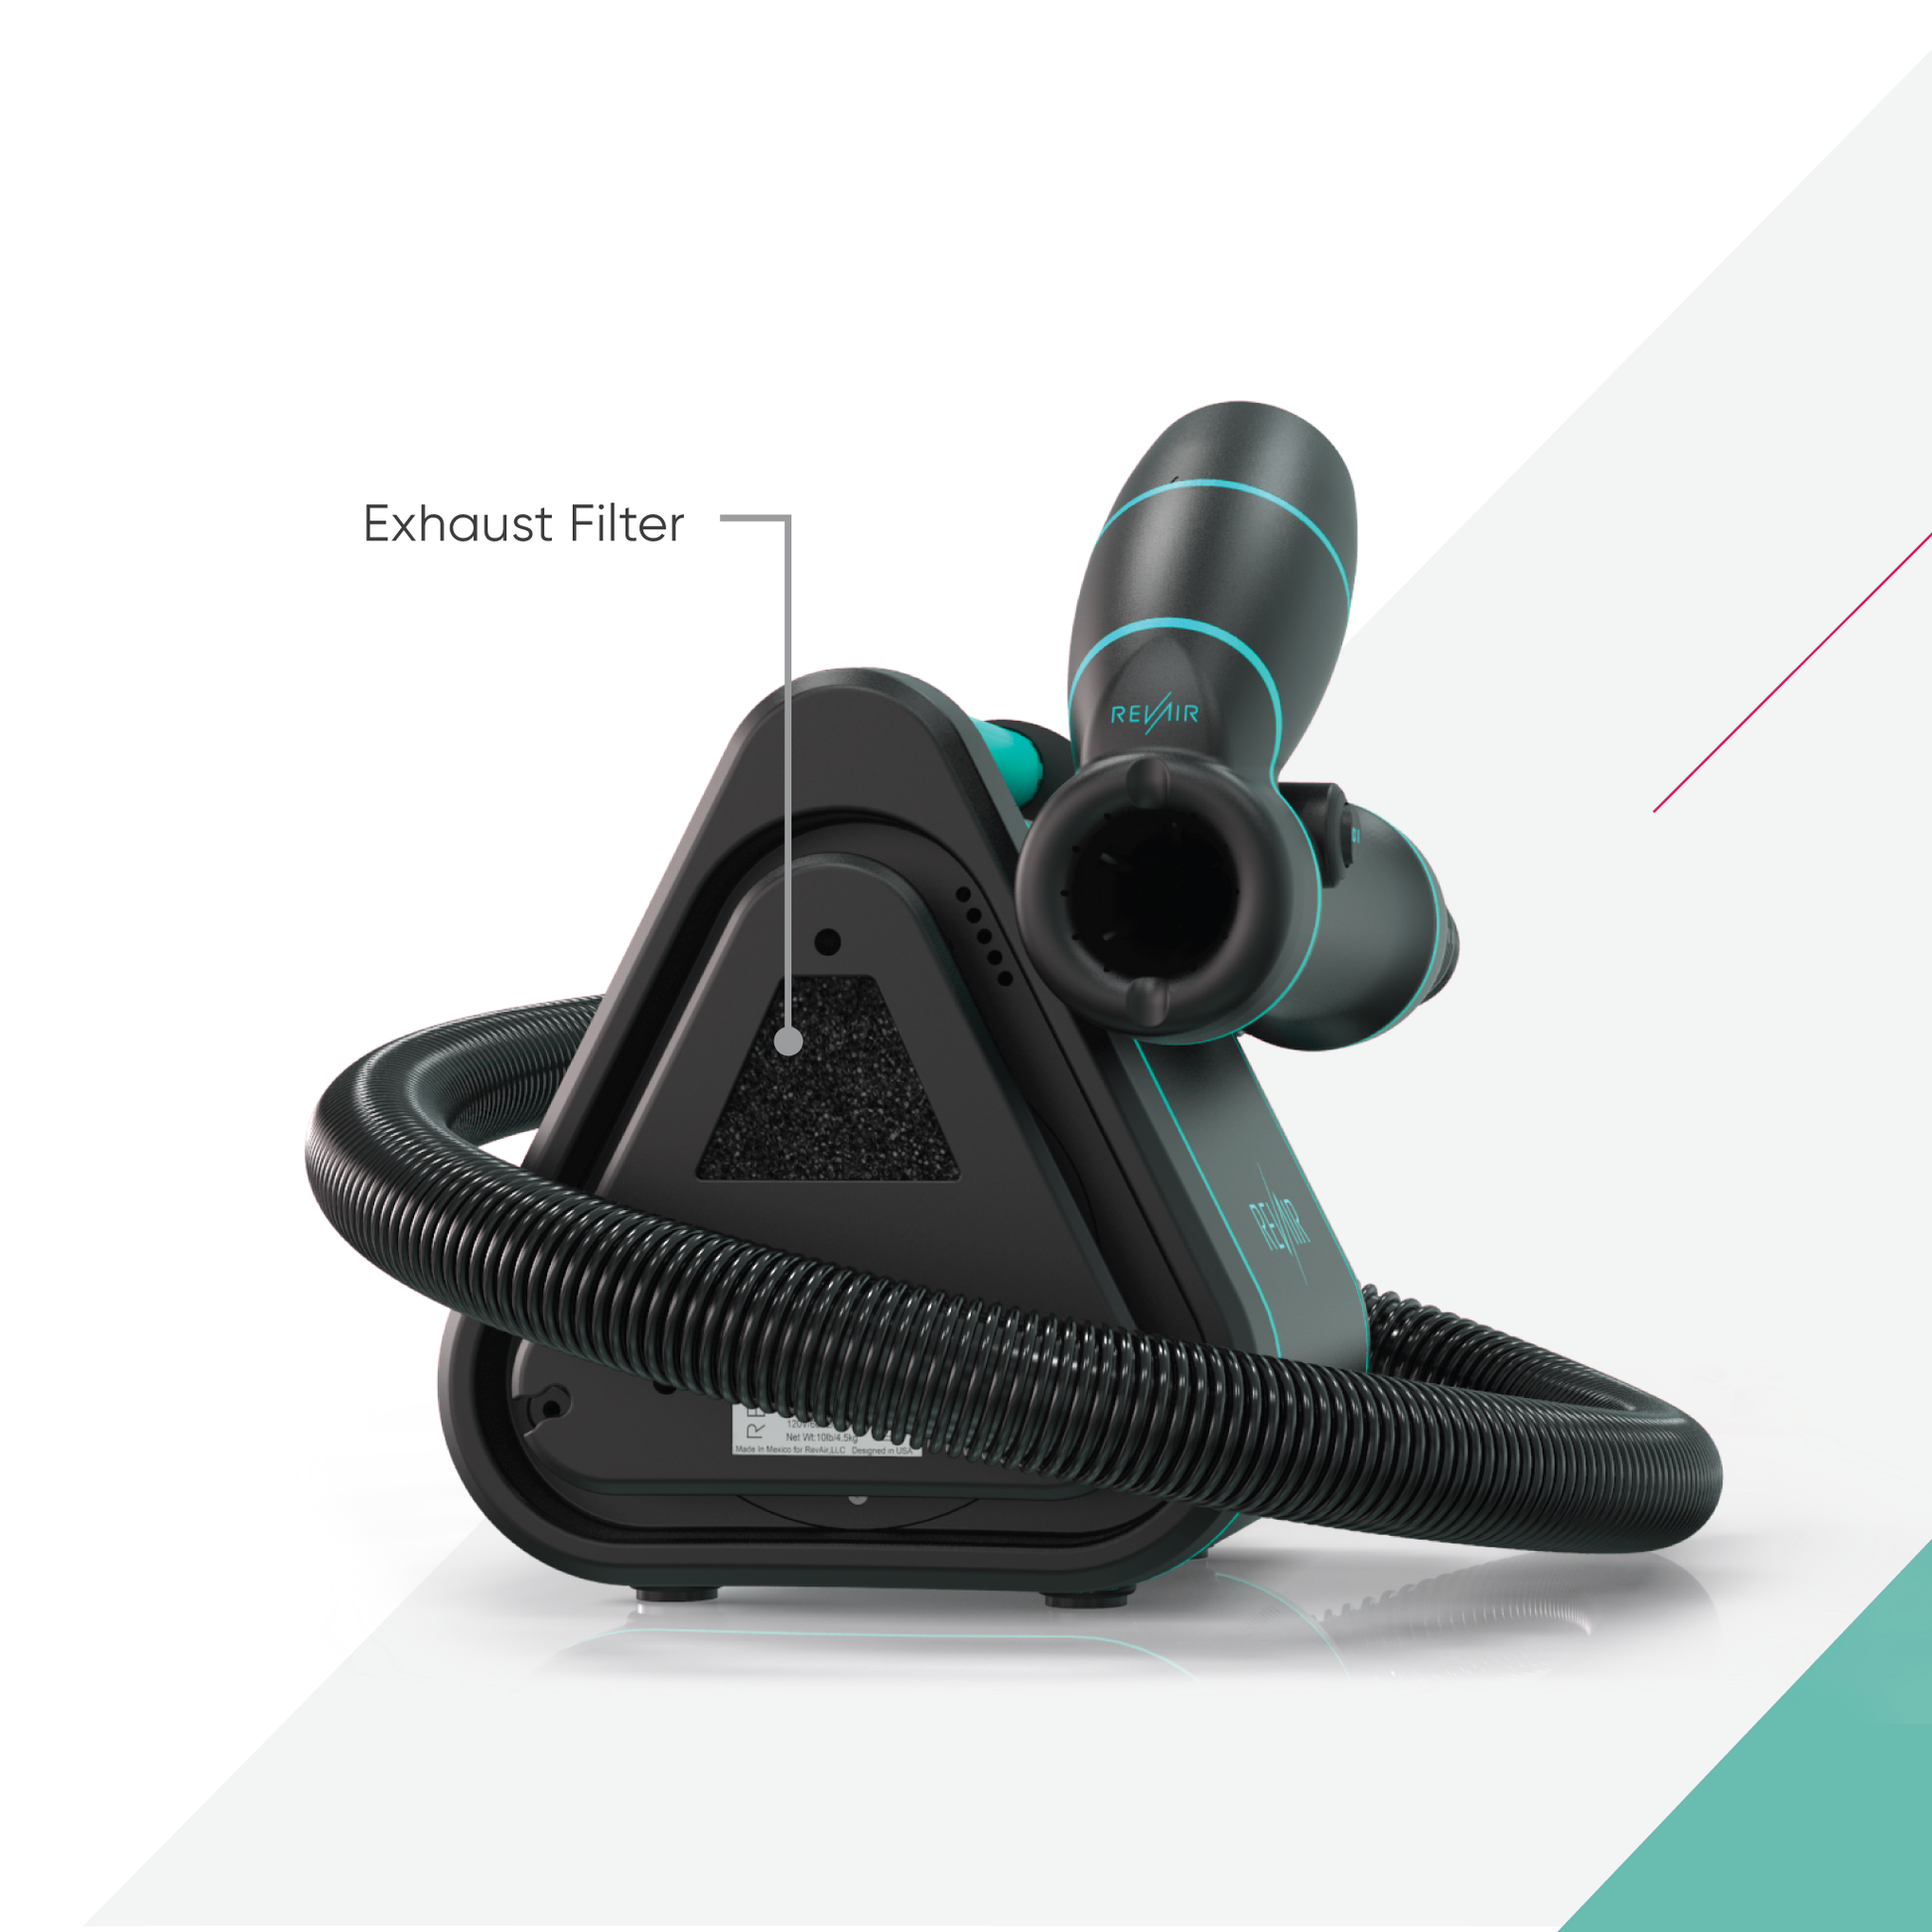
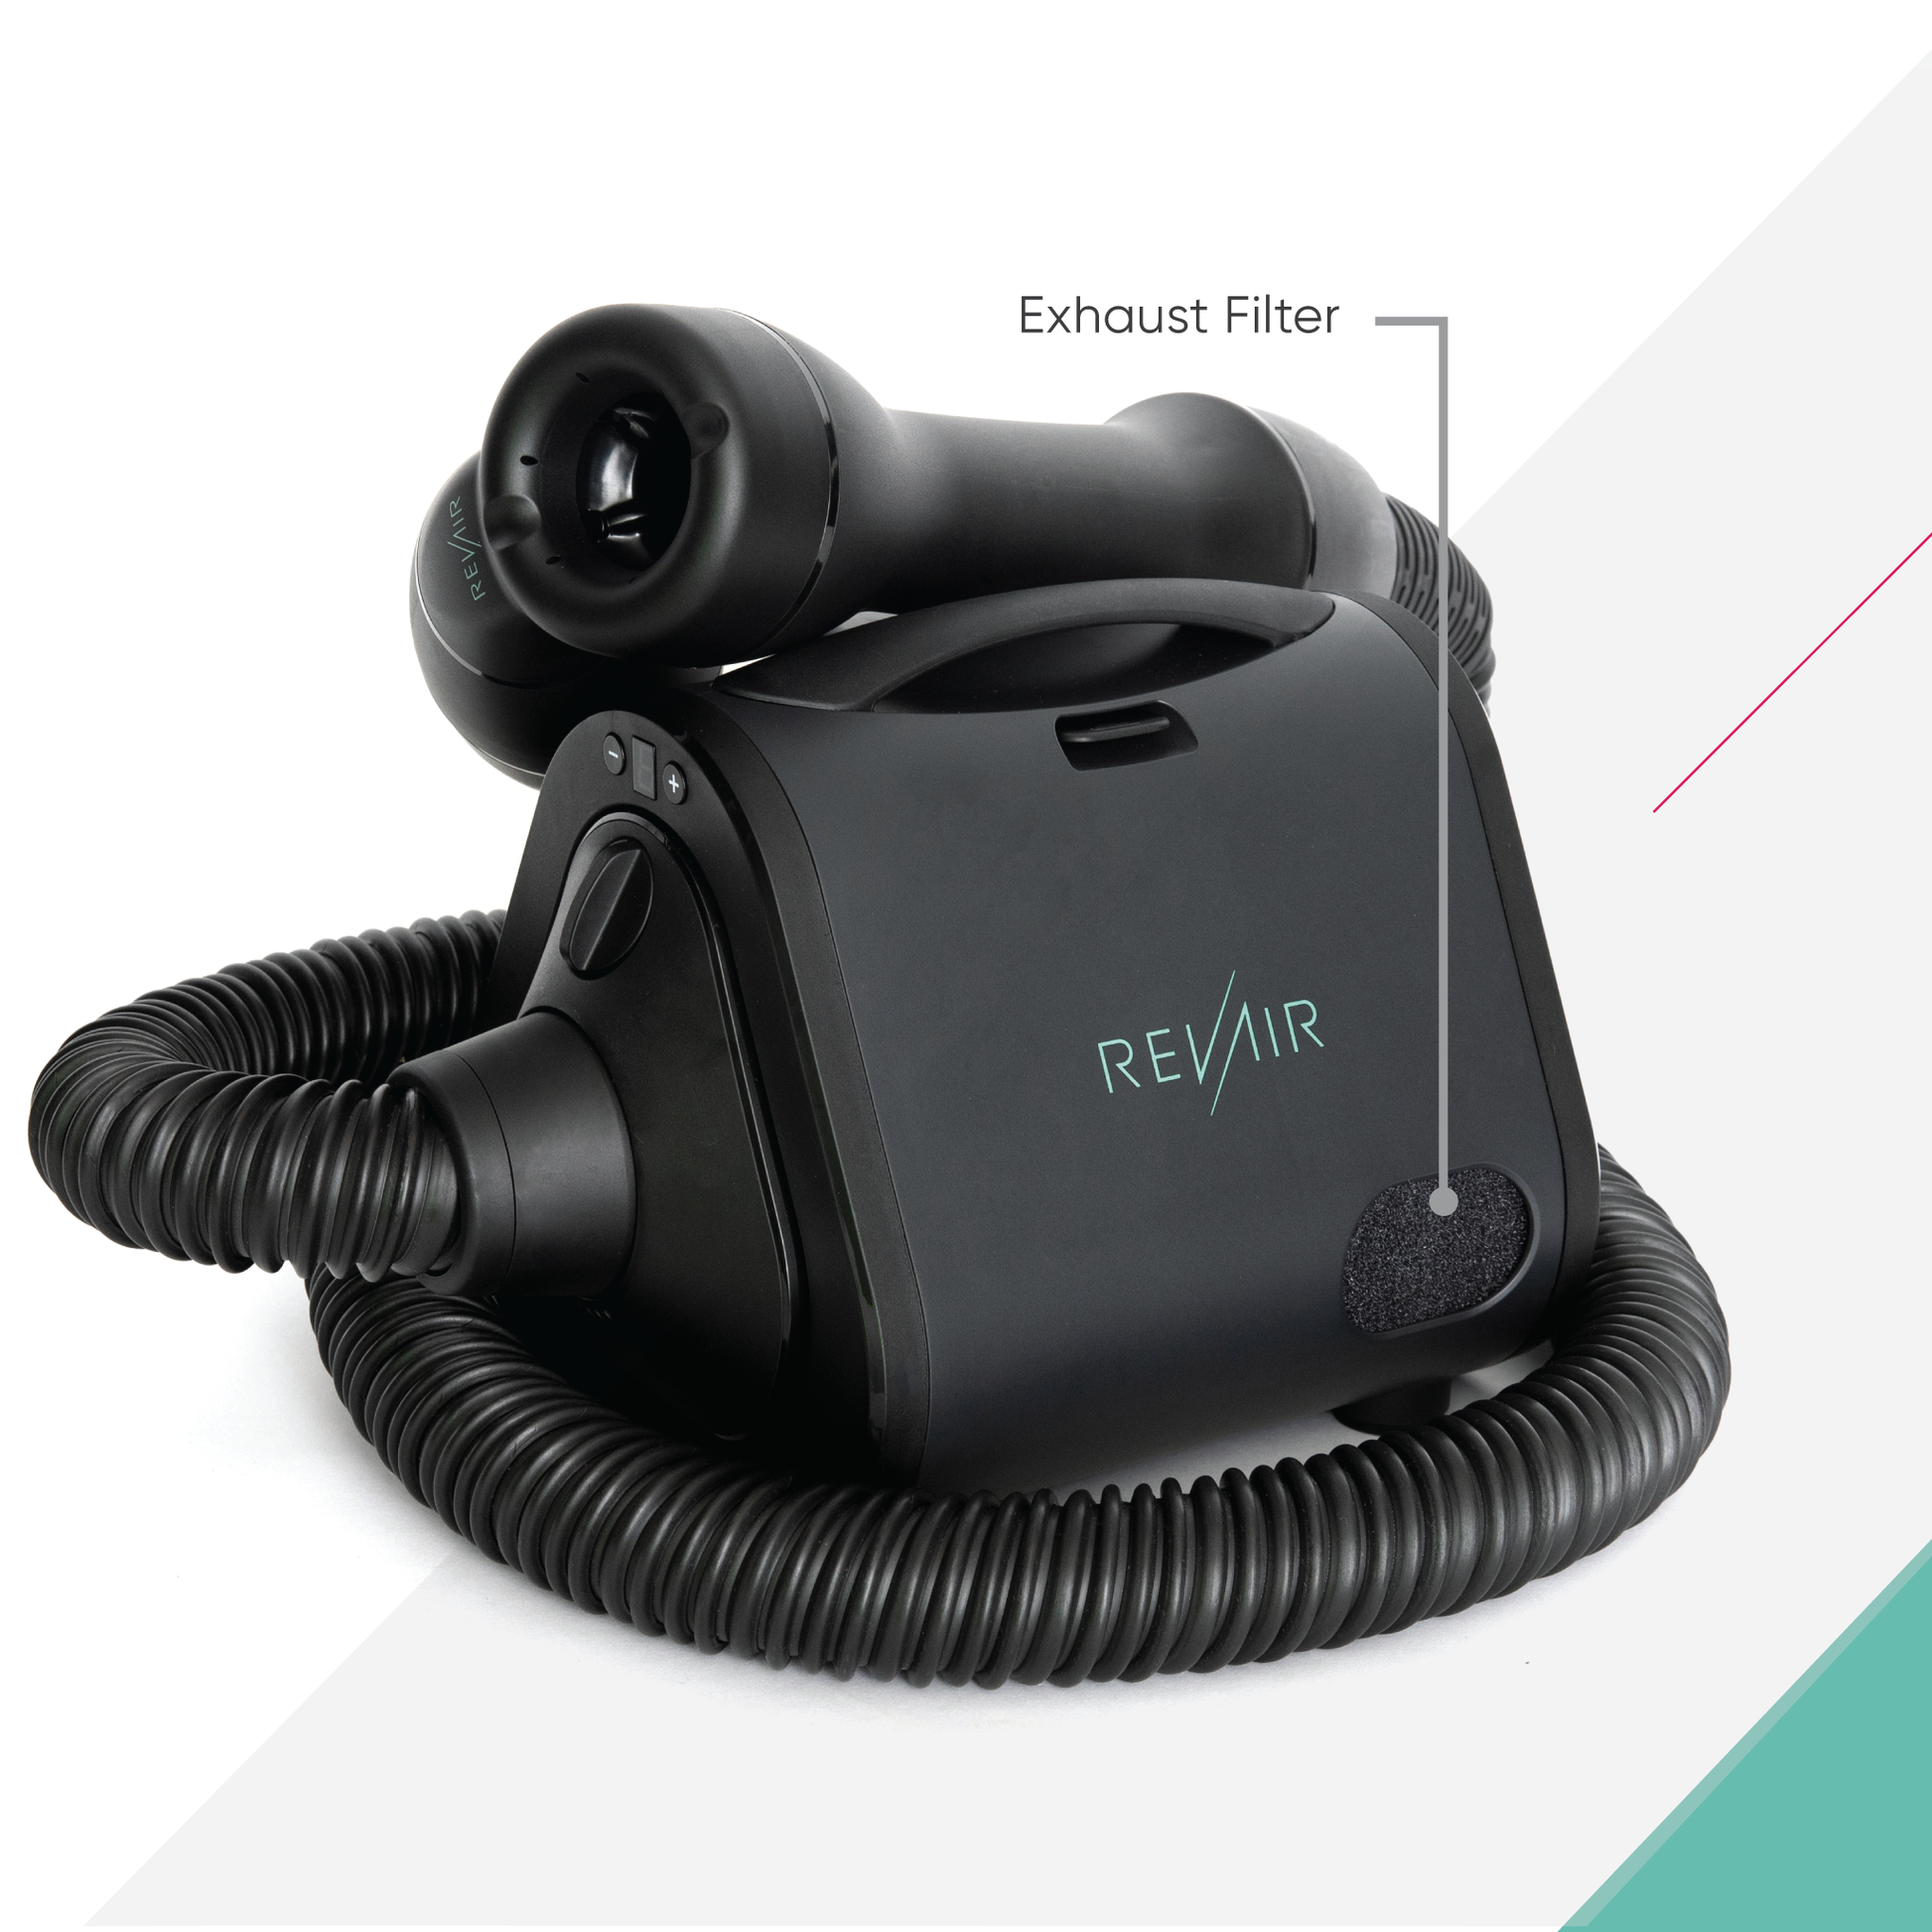
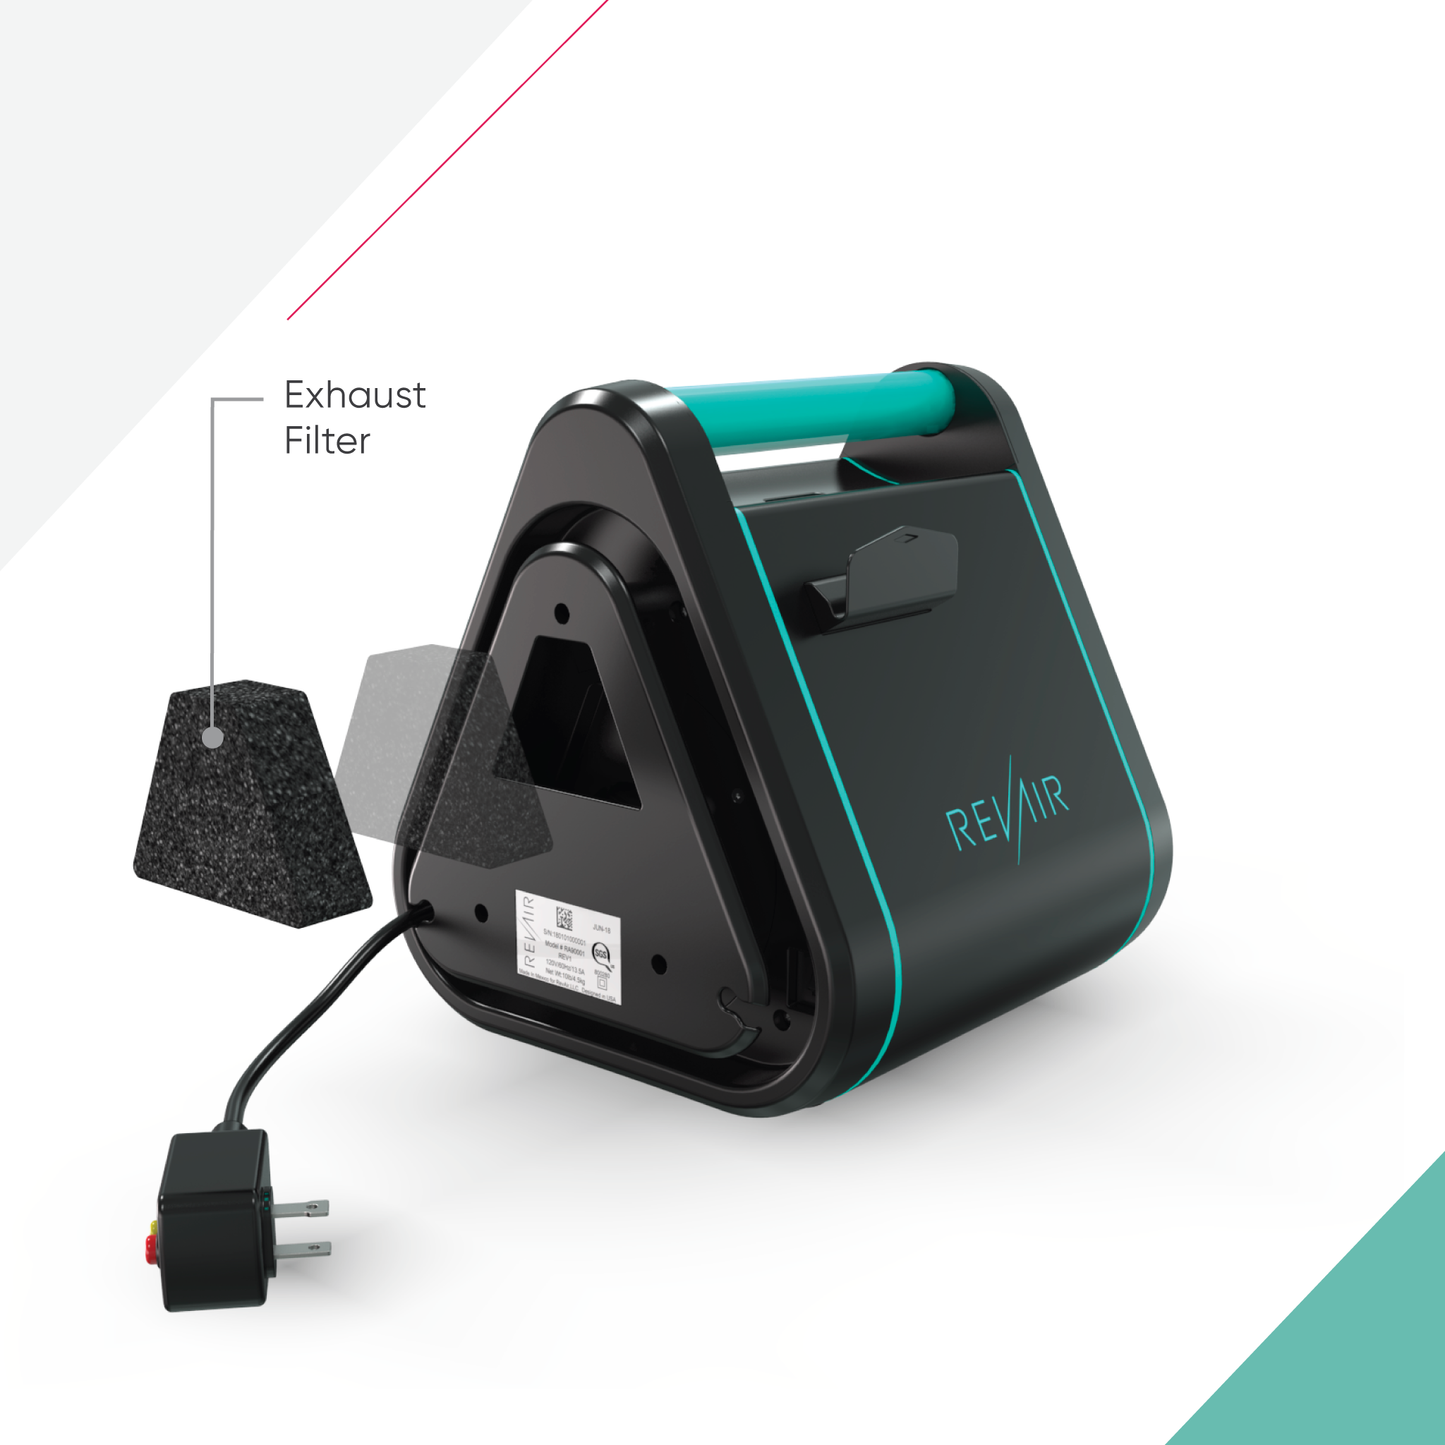
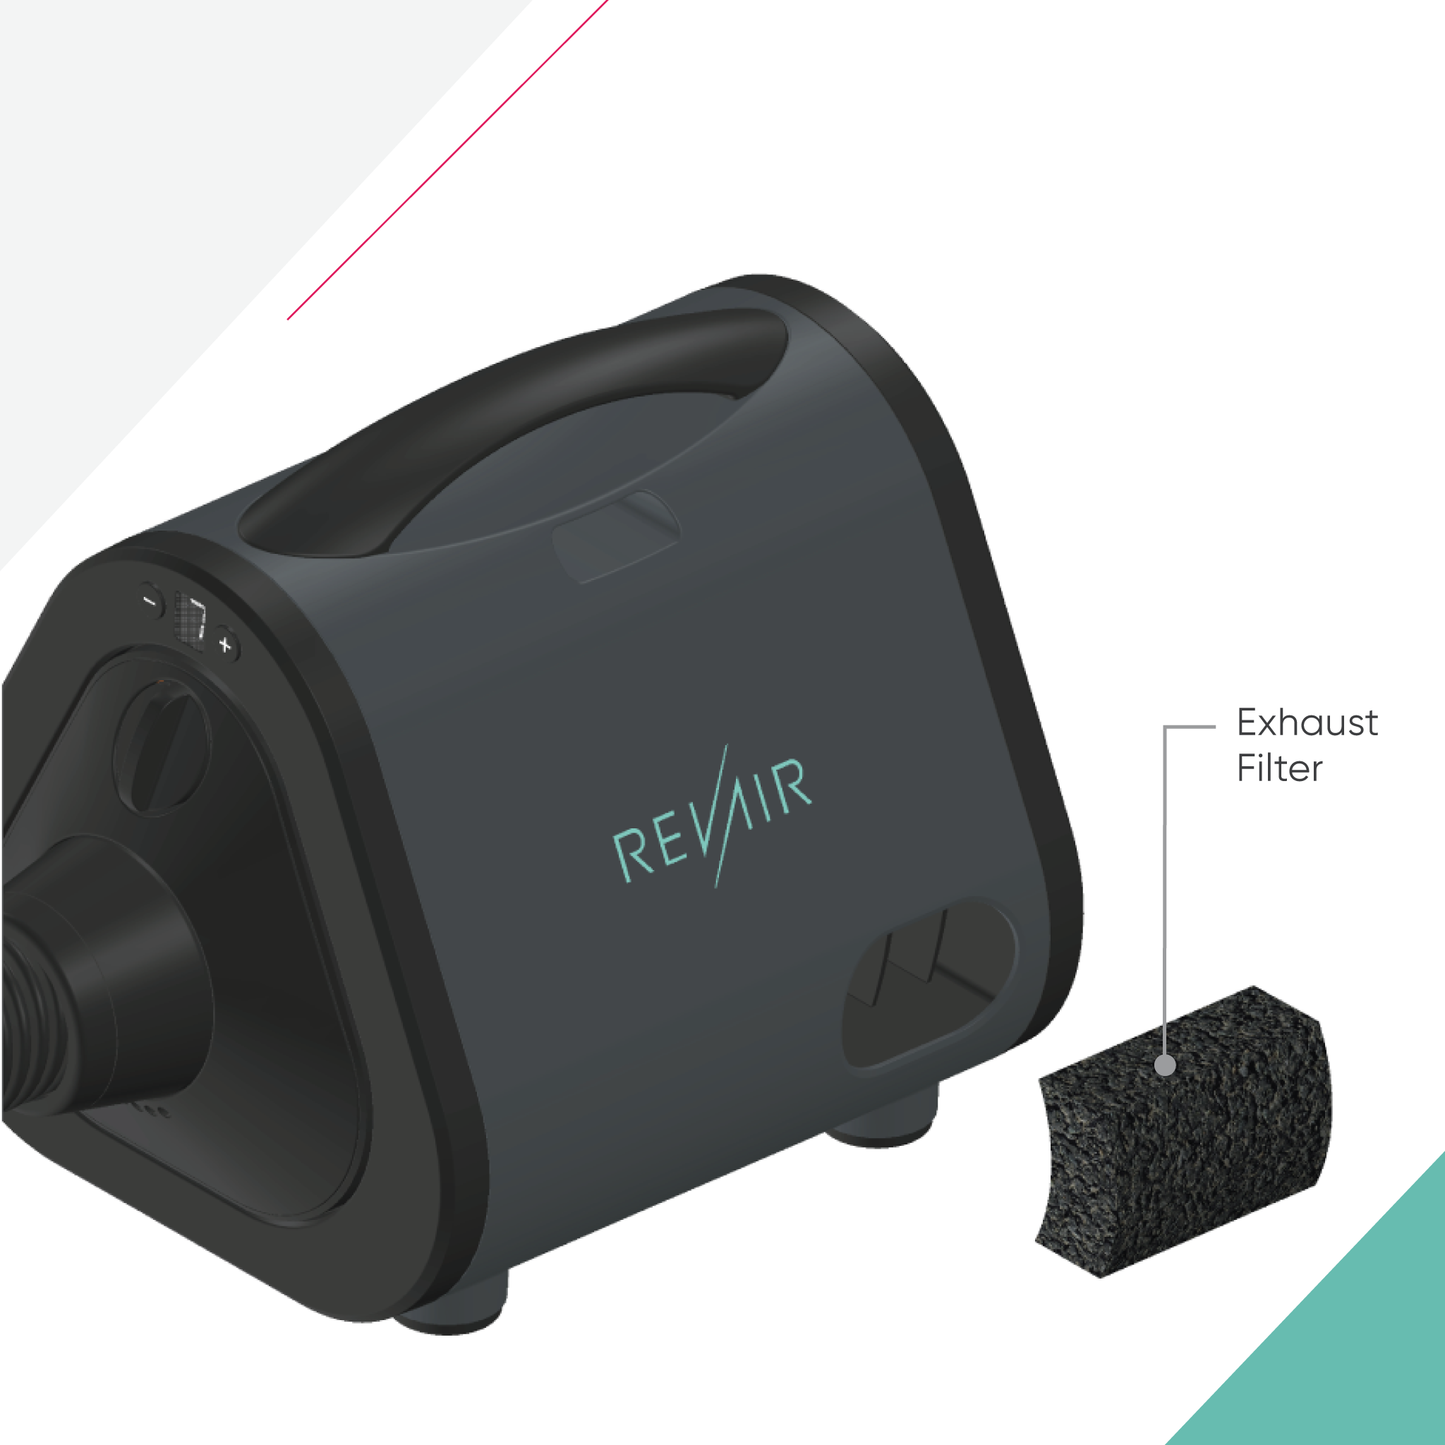
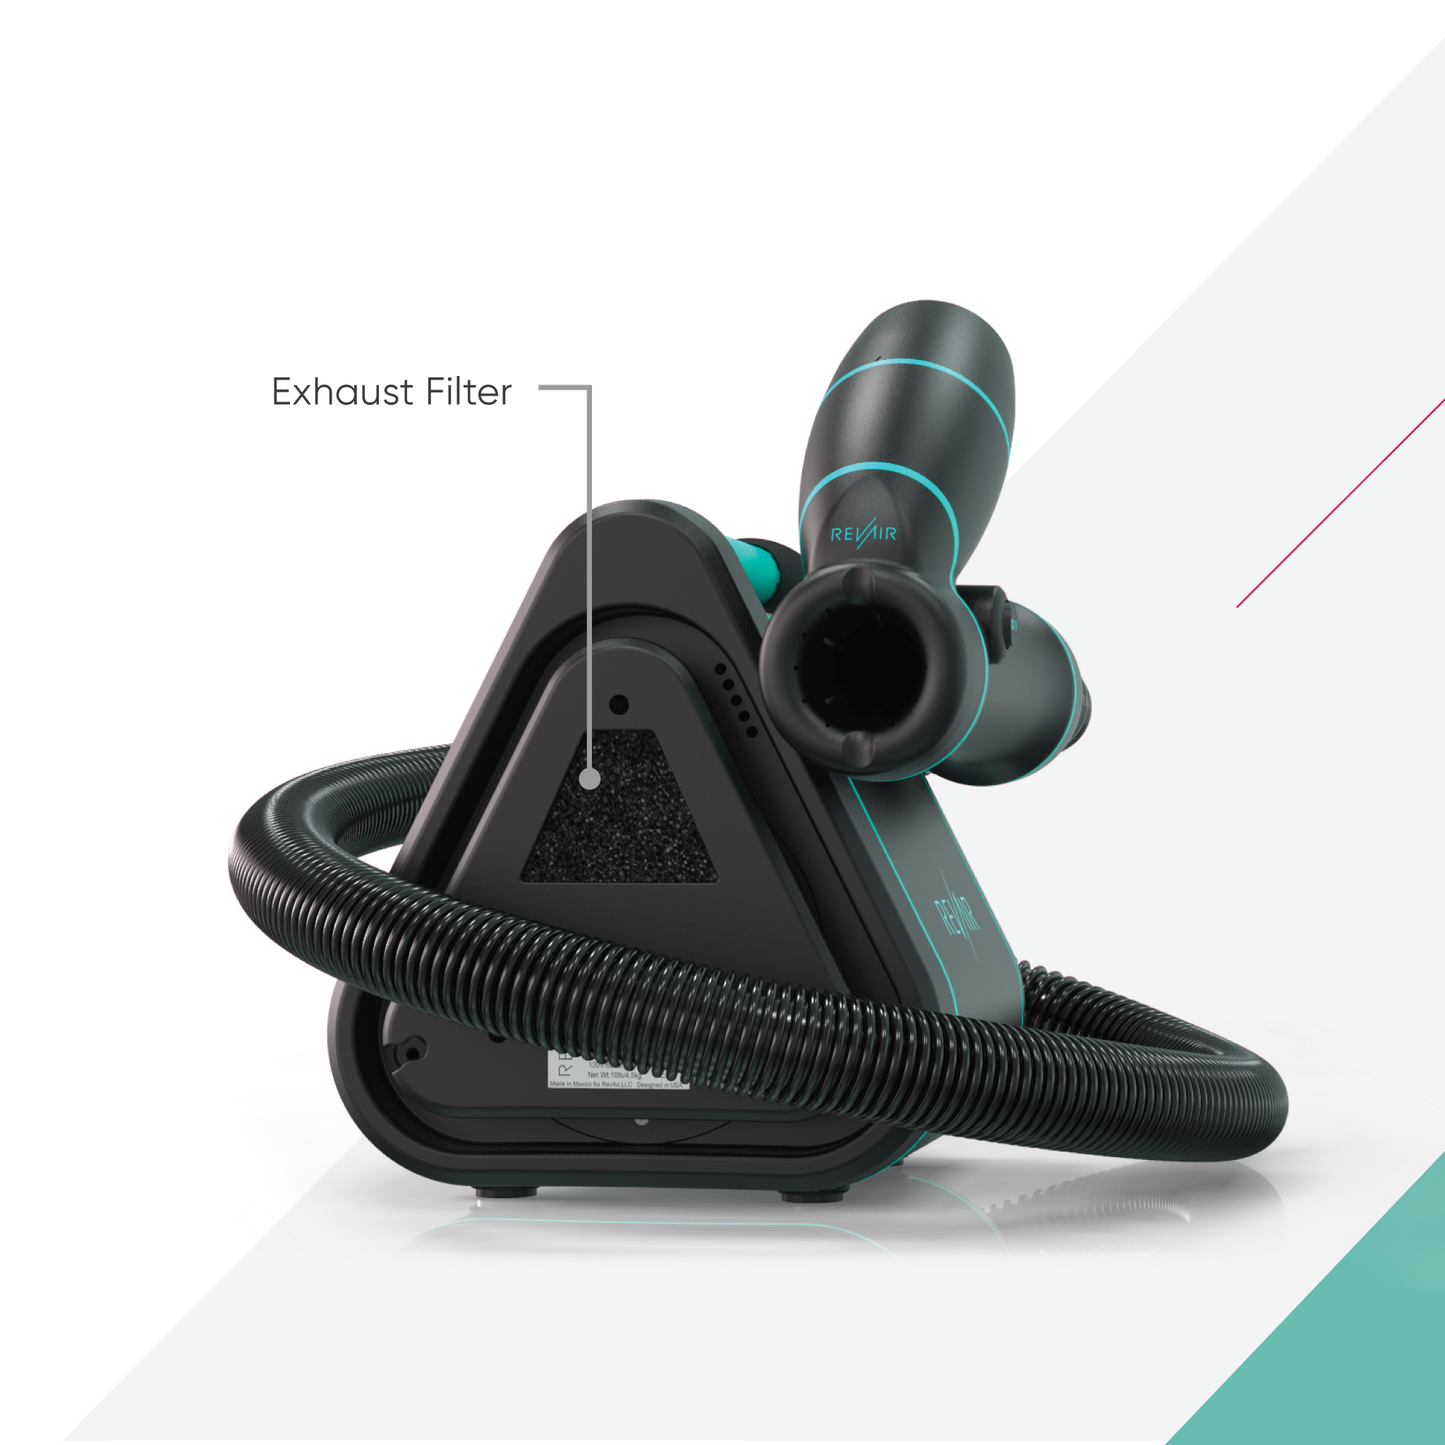
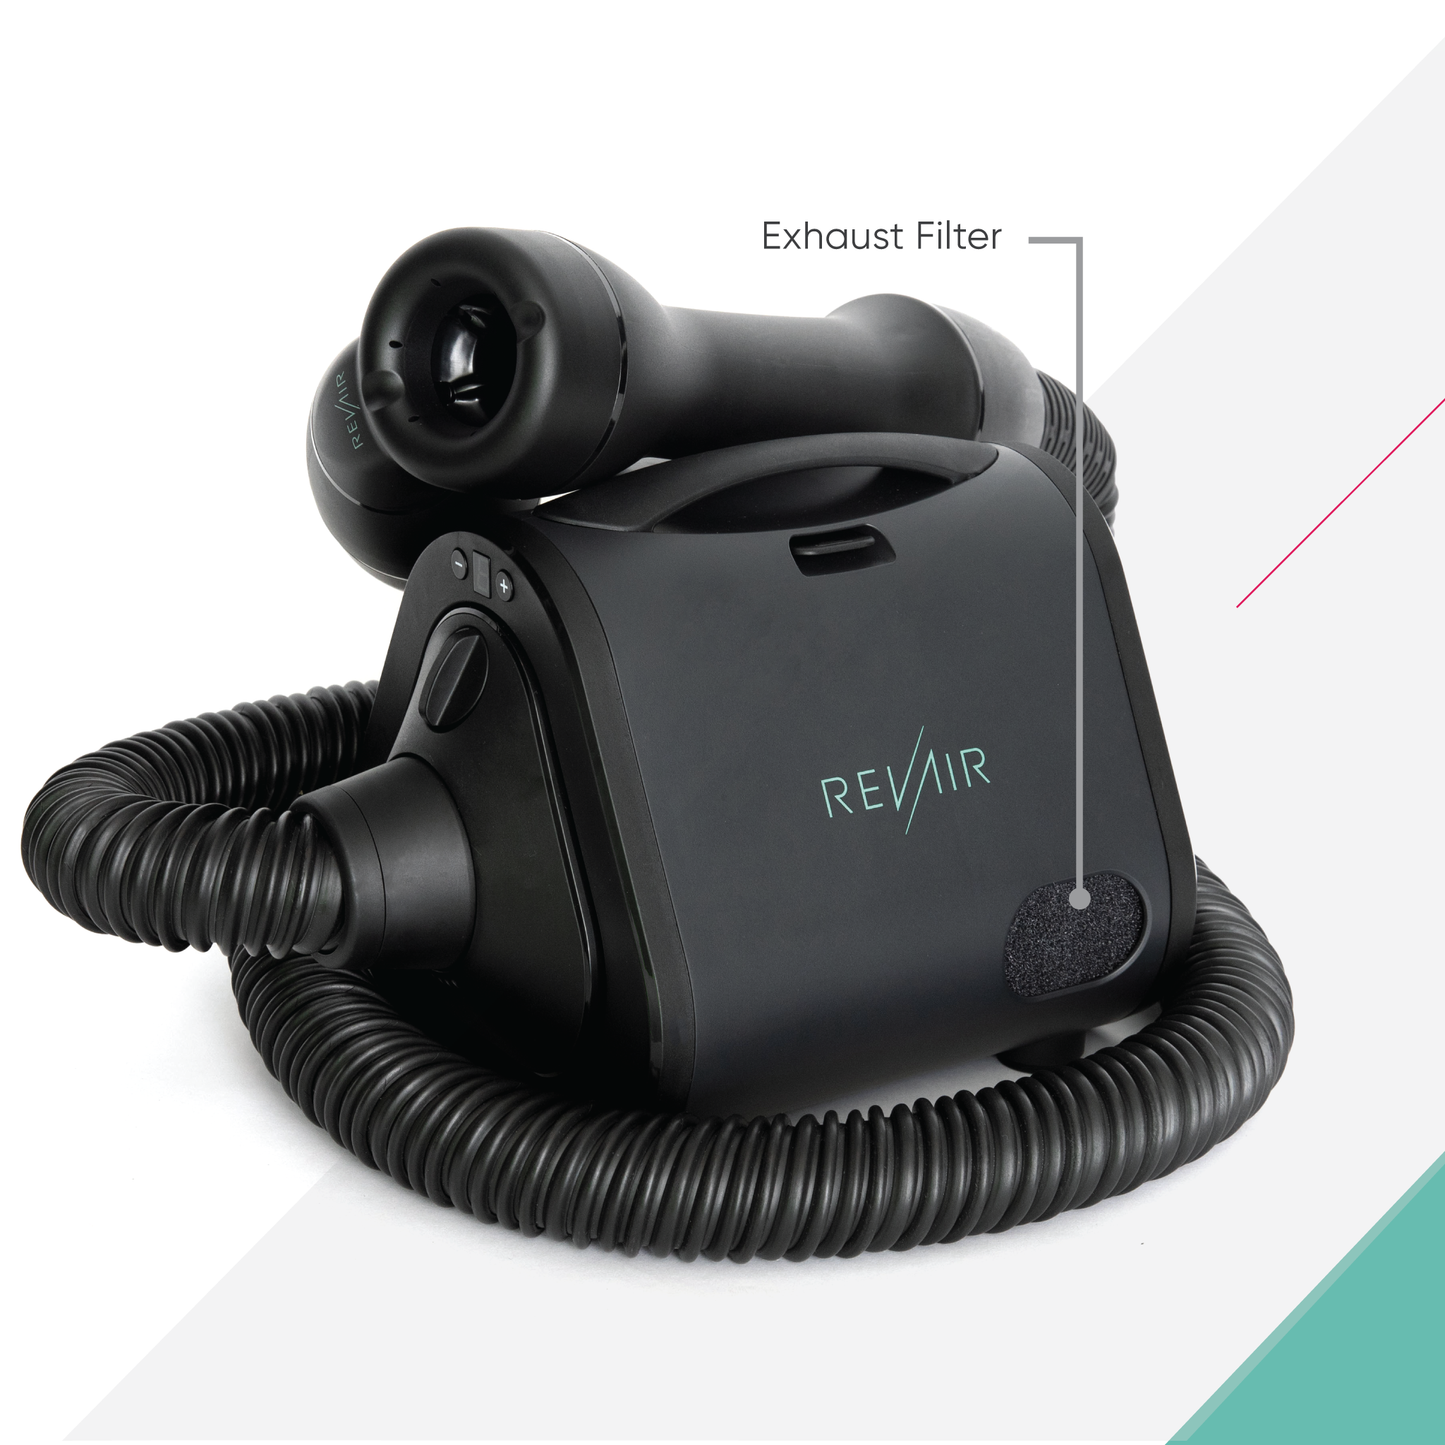
The Exhaust Filters cover the Air Outlets on the Base unit, supplying additional noise suppression and air filtration during each Reverse-Air drying session.
The Original RevAir Base has one Exhaust Filter on the back of the unit, while the New RevAir Base has two smaller Exhaust Filters on either side of the unit.
Be sure to choose your correct device model.
- ◄TIME TO CLEAN
-
SIGNS IT IS TIME TO CLEAN
- If you begin to experience less tension (suction) on your usual tension setting.
- The wand mouth seems hotter than normal.
- Your overall results are less sleek and silky in appearance.
- You notice the wand heat shuts off during use, even after reducing your section size.
- ◄FILTER CARE
-
Device Maintenance


We recommend you clean the Exhaust Filters once per month.
1. Remove the Exhaust Filters
To remove the Exhaust Filters simply pinch the sides together and gently pull to remove the filter from its housing within the Base.
2. Clean the Exhaust Filters
After removing the Exhaust Filters, blow off any dust and rinse well with warm (not hot) water. Do not wring, squeeze, or twist. Gently shake out any excess water, place on a cloth or paper towel, and allow to air dry.
3. Reinstall the Exhaust Filters
When completely dry, insert the Exhaust Filters back into the Base, in their original orientation. While gently pinching the sides, press the filters back into the Base.
- ◄WHEN TO REPLACE
-
IT MAY BE TIME TO PURCHASE IF:
- Your Exhaust Filters show any signs of damage.
- If you prefer to have a spare set of filters on hand for use between cleanings.
- ◄SPECIFICATIONS
-
MATERIAL
Polyurethane Filter Foam
SIGNS IT IS TIME TO CLEAN
- If you begin to experience less tension (suction) on your usual tension setting.
- The wand mouth seems hotter than normal.
- Your overall results are less sleek and silky in appearance.
- You notice the wand heat shuts off during use, even after reducing your section size.
Device Maintenance


We recommend you clean the Exhaust Filters once per month.
1. Remove the Exhaust Filters
To remove the Exhaust Filters simply pinch the sides together and gently pull to remove the filter from its housing within the Base.
2. Clean the Exhaust Filters
After removing the Exhaust Filters, blow off any dust and rinse well with warm (not hot) water. Do not wring, squeeze, or twist. Gently shake out any excess water, place on a cloth or paper towel, and allow to air dry.
3. Reinstall the Exhaust Filters
When completely dry, insert the Exhaust Filters back into the Base, in their original orientation. While gently pinching the sides, press the filters back into the Base.
It may be time to replace if:
- Your Exhaust Filters show any signs of damage.
- If you prefer to have a spare set of filters on hand for use between cleanings.
Material
Polyurethane Filter Foam
Share

What Others Are Saying
Don’t take our word for it... this is what #realusers have to say about @myrevair


